Mac용 AndroidStudio v0.2.3을 설치하고 처음으로 ‘New Project’를 만드는데 마지막 단계에서 “Failed to import Gradle project:” error popup이 뜨면서 제대로 되지 않는다. 실제로는 project directory와 file들도 모두 생기는데 project가 등록되지 않는다. Error log로 봐서는 build와 관련이 있는 Gradle이 제대로 동작하지 못한 문제인것 같다.
Log는 “~/Library/Logs/AndroidStudioPreview/idea.log”에서 볼 수 있다.
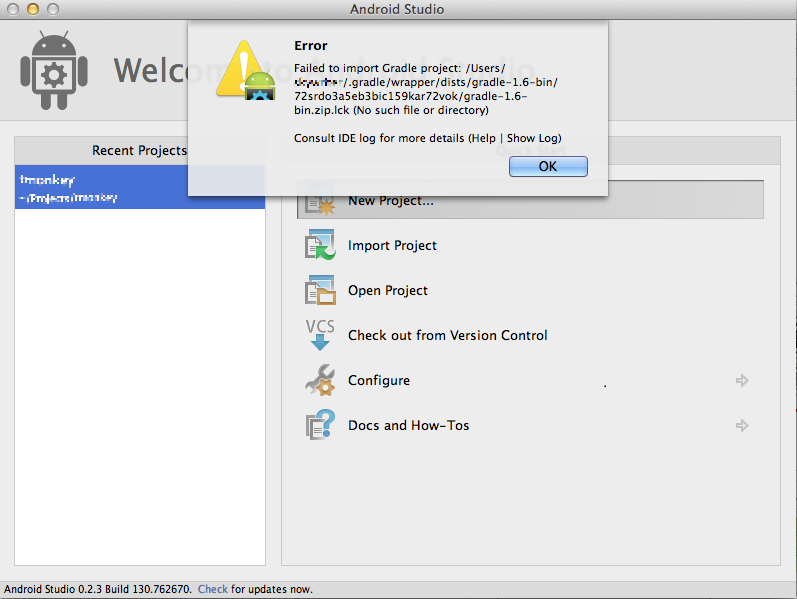
Failed to import Gradle project: /Users/YOUR_ID/.gradle/wrapper/dists/gradle-1.6-bin/72srdo3a5eb3bic159kar72vok/gradle-1.6-bin.zip.lck (No such file or directory)
Android developer page에 Gradle의 import와 관련된 문제가 발생했을 때 Android SKD Manager를 띄워서 Extras 아래에 있는 ‘Android Support Repository’ 항목을 선택해주어야 한다는 내용이 니와 있어서 따라 했는데도 문제가 계속 생겼다.

Home directory에서 permission error가 나는게 이상해서 home directory의 permission을 보니 내 home directory에 owner가 write permission이 없다!! (읭?)

Home directory에 write permission을 줄까 하다가 mac의 보안정책 원래 그럴지도 모르니 그냥 message가 불평하는 대로 ~/.gradle directory를 만들어 주었더니 잘 돌아간다. lol
sudo mkdir ~/.gradle
sudo chown YOUR_ID:staff ~/.gradle